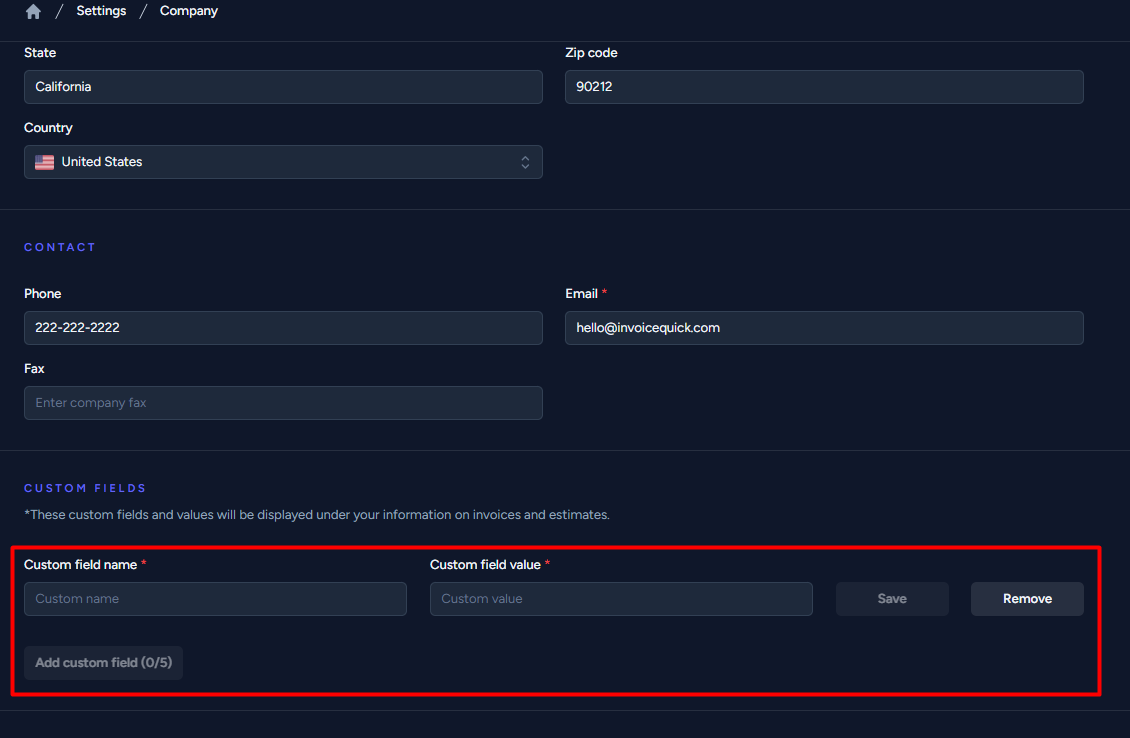
Here's a step-by-step guide on how to create custom company fields in InvoiceQuick:
Access Settings:
-
Start by going to the "Settings" section.
Company Settings:
- In the settings, open the "Company" tab.

- Add Custom Fields:
- Scroll down to find the "Add Custom Fields" button. You can add up to 5 custom fields.

- Edit Custom Fields:
- For each custom field, provide the following information:
- Custom field name: Enter the name for your custom field.
-
Custom field value: Specify the value or content you want to associate with this custom field.
Save Changes:
- After entering the custom field name and value, click on the "Save" button to save your custom fields.
By following these steps, you can easily create custom company fields in InvoiceQuick to store additional information relevant to your business.
