Here's a guide on how to import expenses in InvoiceQuick:
Click on Your Profile:
- In the top-right corner of the dashboard, click on your profile or account settings.

- Import Expenses:
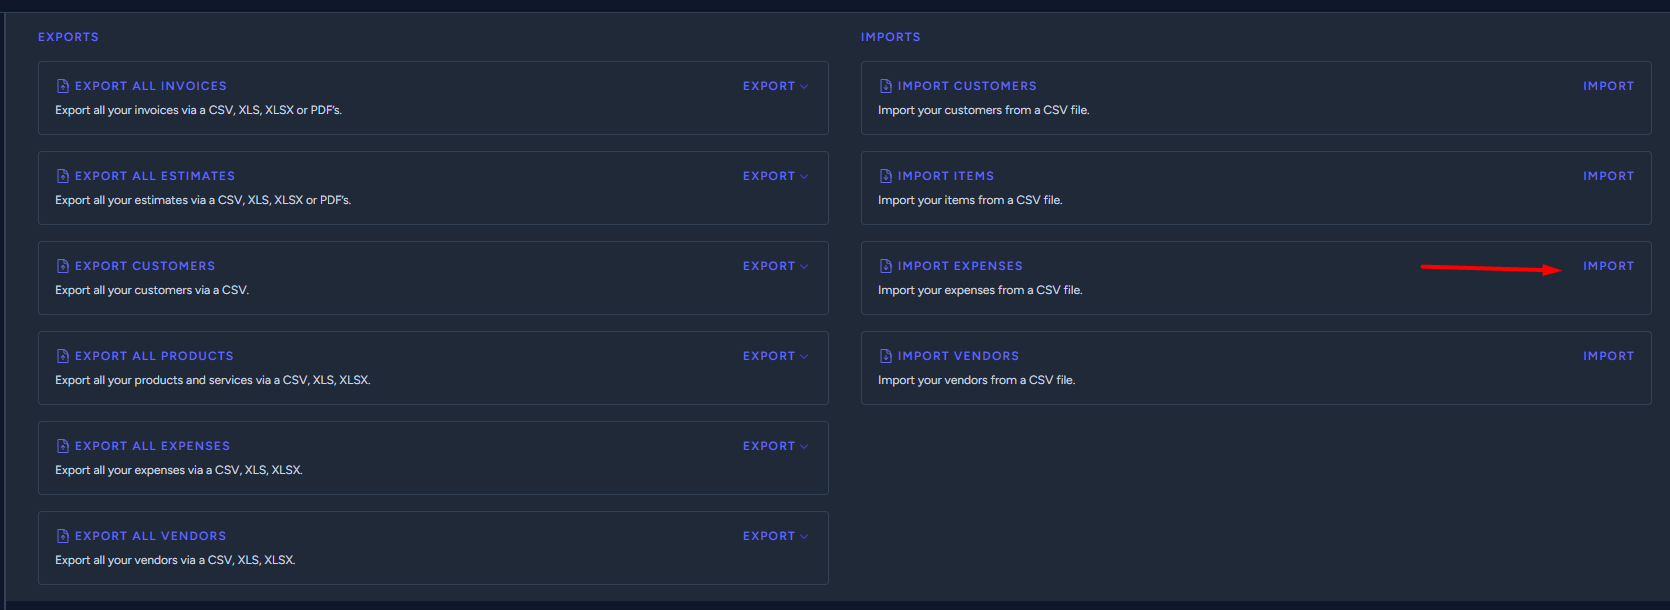
- To import your expenses, you should see a button IMPORT to "Import expenses"
-
Click on this option to start the import process.
Choose CSV, XLS, or XLSX File:
- You will be prompted to choose the CSV, XLS, or XLSX file containing your expense data.
-
Locate the file on your computer and select it for upload.
Mapping Fields:
- The system may ask you to map the fields in your file to the corresponding fields in InvoiceQuick.
-
Follow the on-screen instructions to map the fields correctly.
Confirm and Initiate Import:
- Once you've mapped the fields, confirm your choices and initiate the import.
-
The system will process your file and import the expense data.
Review and Use:
- After the import is complete, review your expenses to ensure they have been added correctly.
- You can now use these expenses for invoicing and tracking.
By following these steps, you can efficiently import expenses in InvoiceQuick, helping you manage your financial records and invoicing processes effectively.